WINDOWS 7 LAN INTERNET CONNECTION AND SHARING WITH PC DESKTOPS


In this wireless world of internet connections, there is the LAN way to connect 2 PC desktops or laptops along with the quicker WiFi ad-hoc internet connection method comes into play. However, not everybody has a wireless card installed on their PC / computers, the LAN internet connection, i.e. to create a local area network (LAN) is the origin of sharing internet and files/folders for which the steps required to create this connection on Windows 7 or Vista are given as follows.
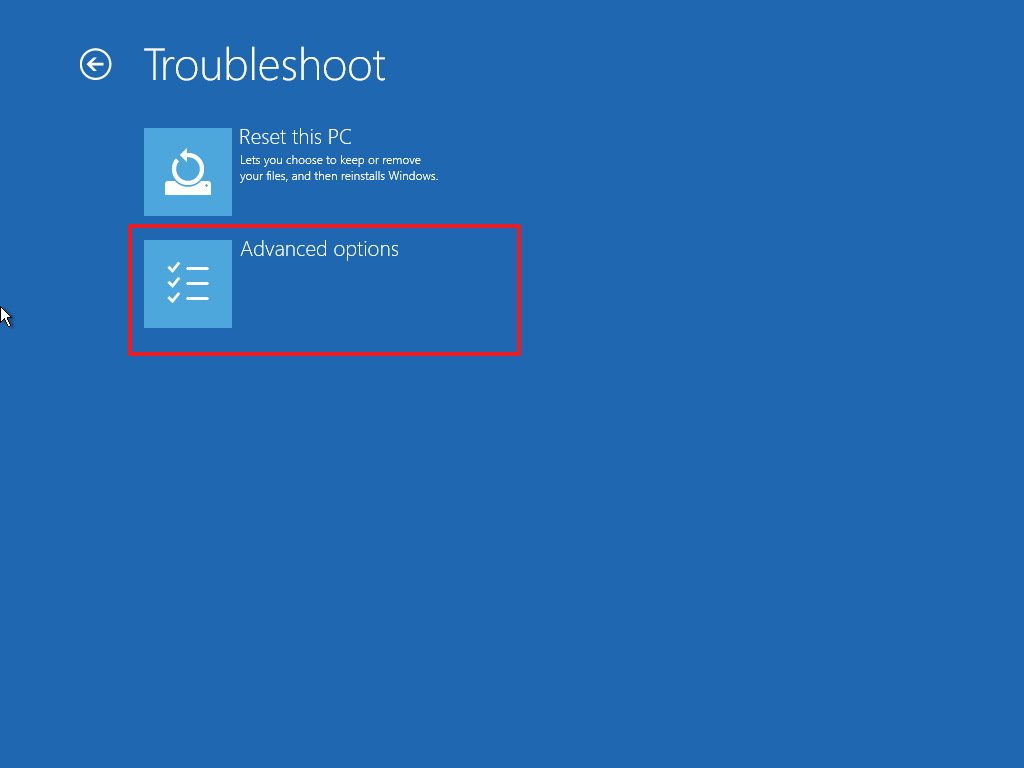
 Image Source:
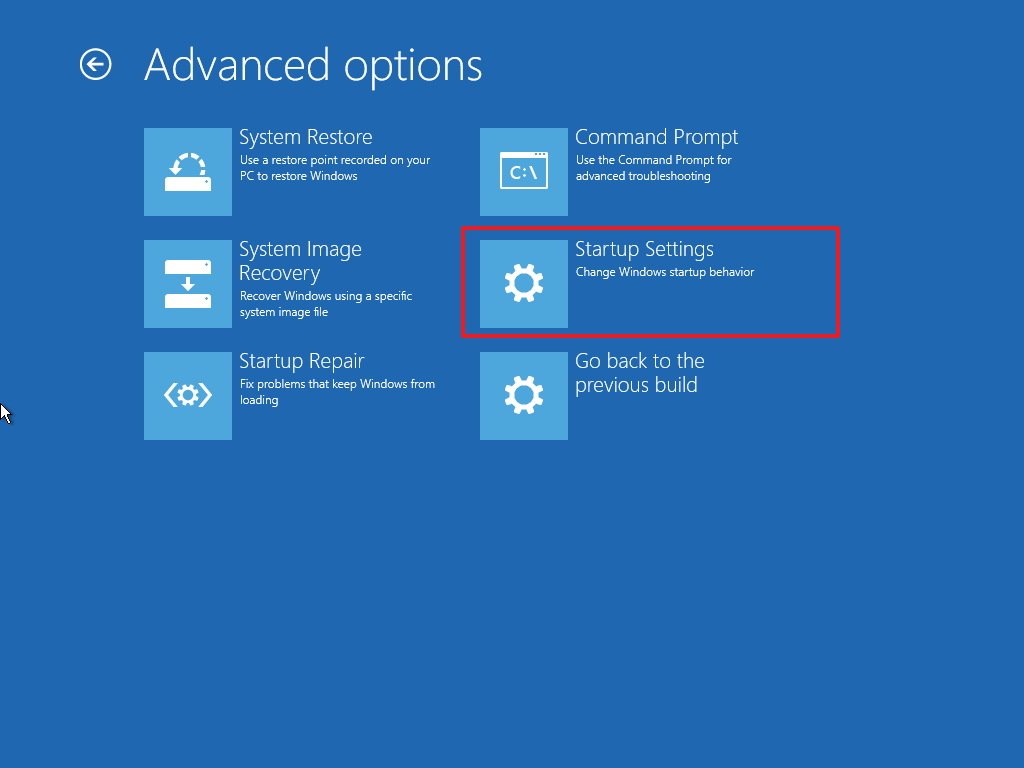
WINDOWS 7 LAN INTERNET CONNECTION AND SHARING WITH PC DESKTOPS
In this wireless world of internet connections, there is the LAN way to connect 2 PC desktops or laptops along with the quicker WiFi ad-hoc internet connection method comes into play. However, not everybody has a wireless card installed on their PC / computers, the LAN internet connection, i.e. to create a local area network (LAN) is the origin of sharing internet and files/folders for which the steps required to create this connection on Windows 7 or Vista are given as follows.
Steps to Connect your PC with LAN Internet Connection to Another PC
- At first, you need to go out and buy the straight patch Ethernet LAN cable. Buy it here. Make sure that “patch” or “crossover” is written on the cord.
- Connect them to both the computers.
- Go to “Network and Sharing Center” through the Control Panel.
- Select “Network Connection” and right click Local Area Network connection and select “Properties”.

- Now select “Internet Protocol Version 4(TCP/IPv4)” and click “Properties”.
- Now, once you are inside the TCP/IP properties of your computer, click “Use the following IP”and enter 192.168.0.1 as IP address and 255.255.255.0 as subnet mask. Leave the other details blank and click “OK”.

- Now go to TCP/IP properties of the second computer and enter the same details except the IP address, which should be 192.168.0.2 and click “OK”.
- Done. Now the networks are operatable. You might need to restart both the computers in some cases.
- Now, if you’re looking to SHARE the internet connection between 2 computers, go to Local Area Network properties again and click on the Sharing tab. Select “Enable internet connection sharing”.
- To share files and folders between the 2 computers, go to the properties of that file/folder and select Sharing tab. Click “Share” to share on the network.

Steps to Connect your PC with LAN Internet Connection to Another PC
- At first, you need to go out and buy the straight patch Ethernet LAN cable. Buy it here. Make sure that “patch” or “crossover” is written on the cord.
- Connect them to both the computers.
- Go to “Network and Sharing Center” through the Control Panel.
- Select “Network Connection” and right click Local Area Network connection and select “Properties”.
- Now select “Internet Protocol Version 4(TCP/IPv4)” and click “Properties”.
- Now, once you are inside the TCP/IP properties of your computer, click “Use the following IP”and enter 192.168.0.1 as IP address and 255.255.255.0 as subnet mask. Leave the other details blank and click “OK”.
- Now go to TCP/IP properties of the second computer and enter the same details except the IP address, which should be 192.168.0.2 and click “OK”.
- Done. Now the networks are operatable. You might need to restart both the computers in some cases.
- Now, if you’re looking to SHARE the internet connection between 2 computers, go to Local Area Network properties again and click on the Sharing tab. Select “Enable internet connection sharing”.
- To share files and folders between the 2 computers, go to the properties of that file/folder and select Sharing tab. Click “Share” to share on the network.